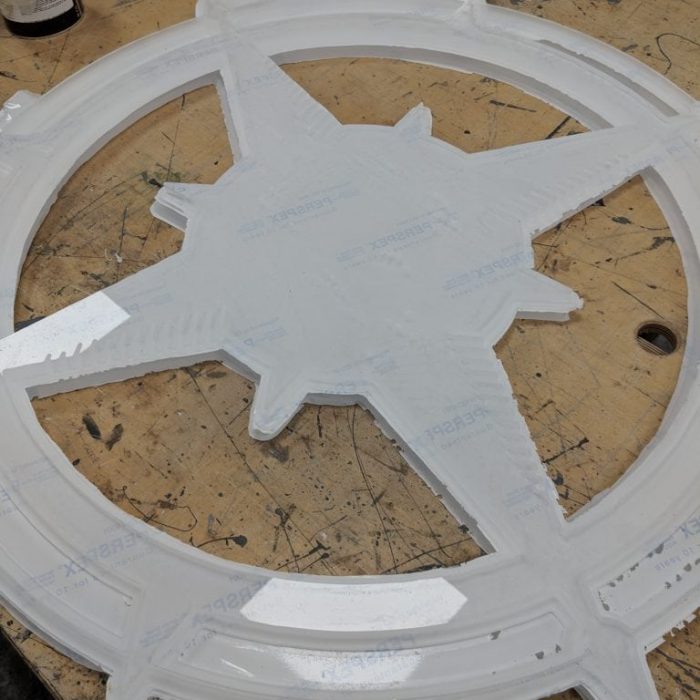
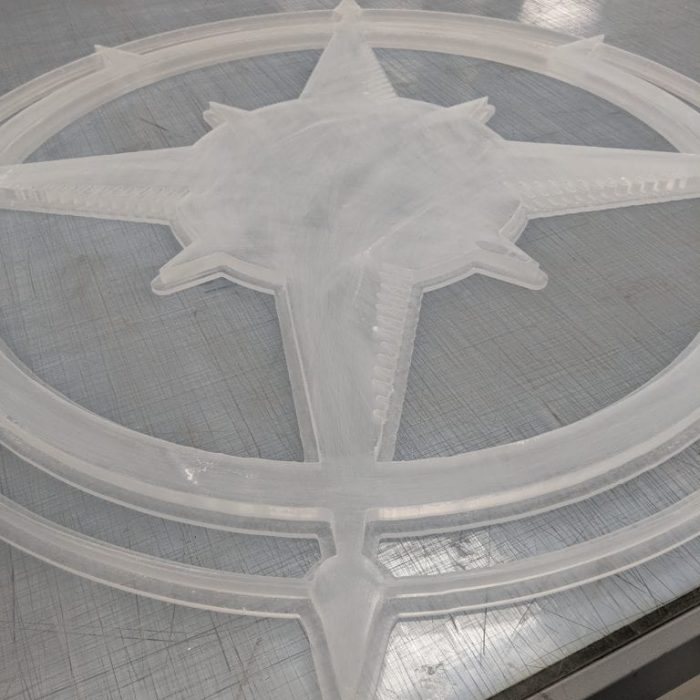
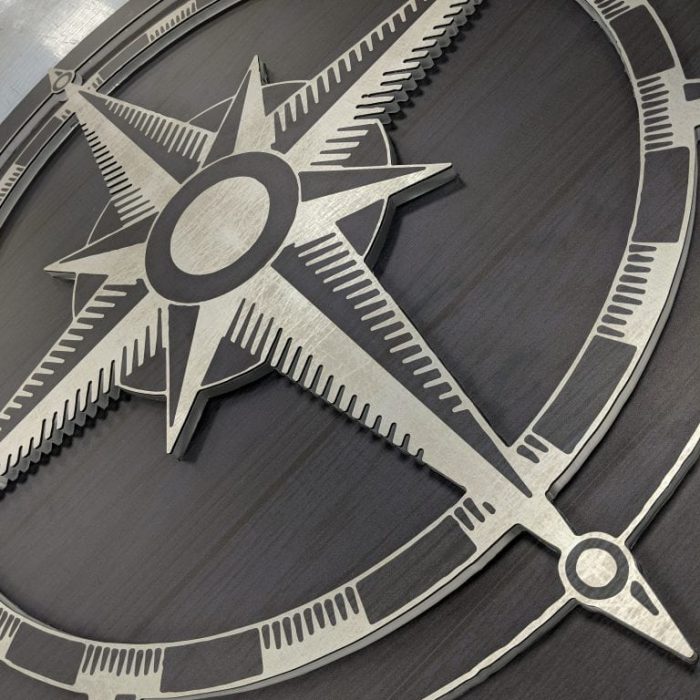
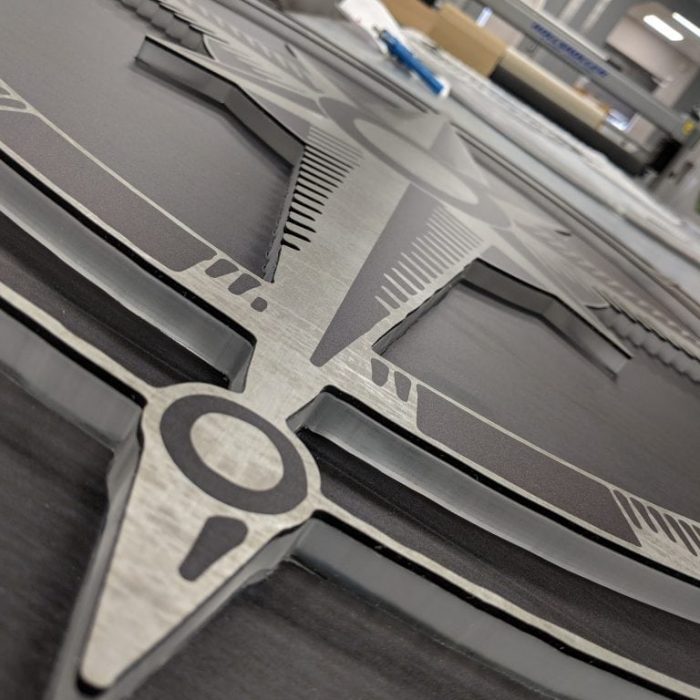
The base for the sign is cut from opaque acrylic to allow the LED illumination though. Two of these are required, one for each side of the sign.
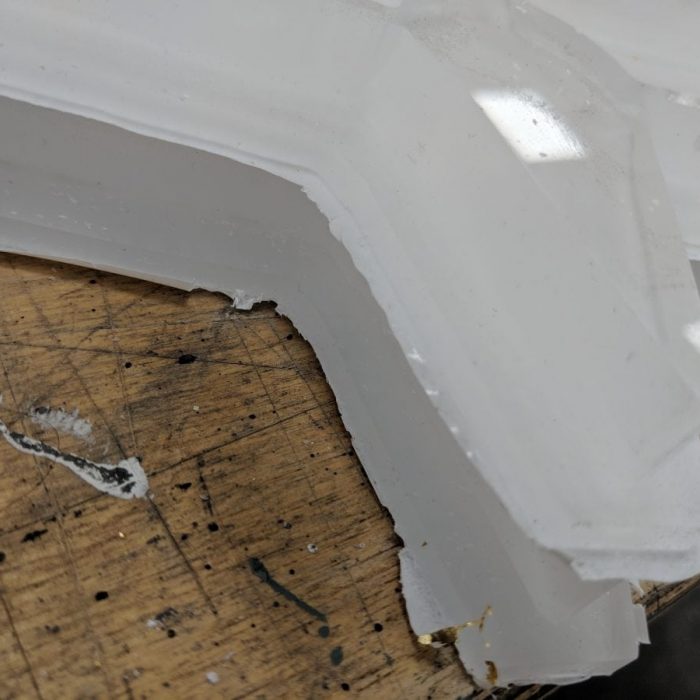
The edges of the acrylic base start off rough...
Despite having a 'roughed up' surface, the acrylic is the perfect material for sign illumination.
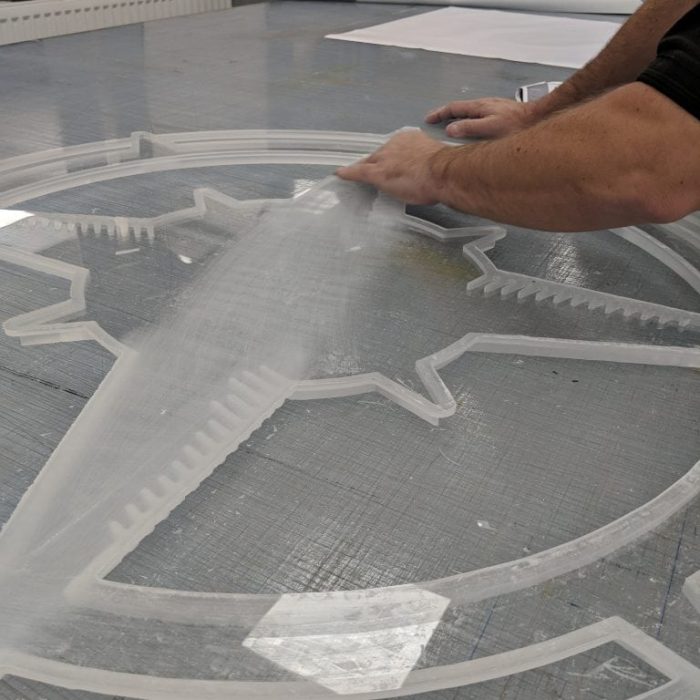
...so a little elbow grease is required to round them off, as well as prep the surface for the application of UV printed Dibond.
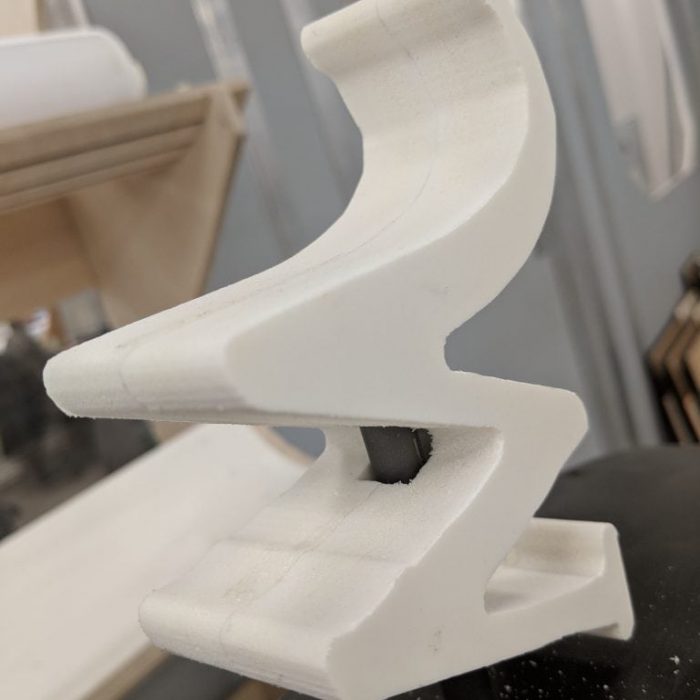
Meanwhile the letters for north, south, east and west are prepared for the outer edges of the compass.
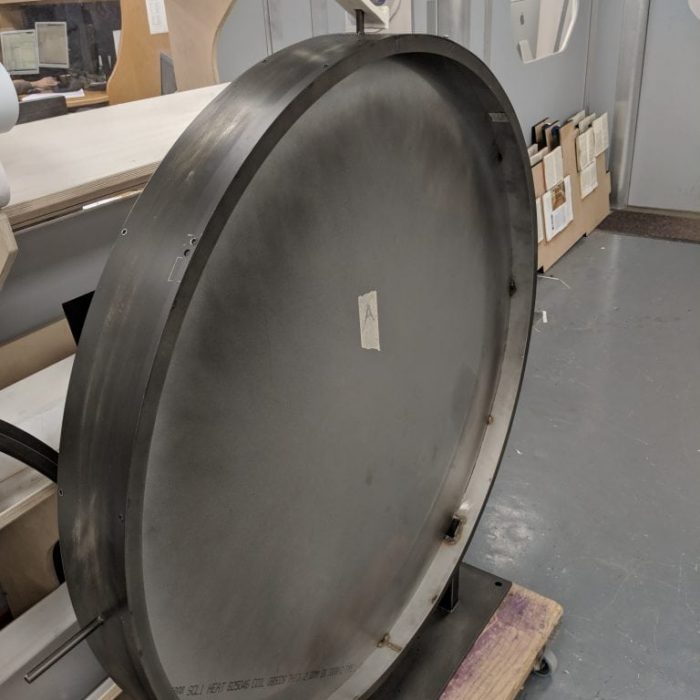
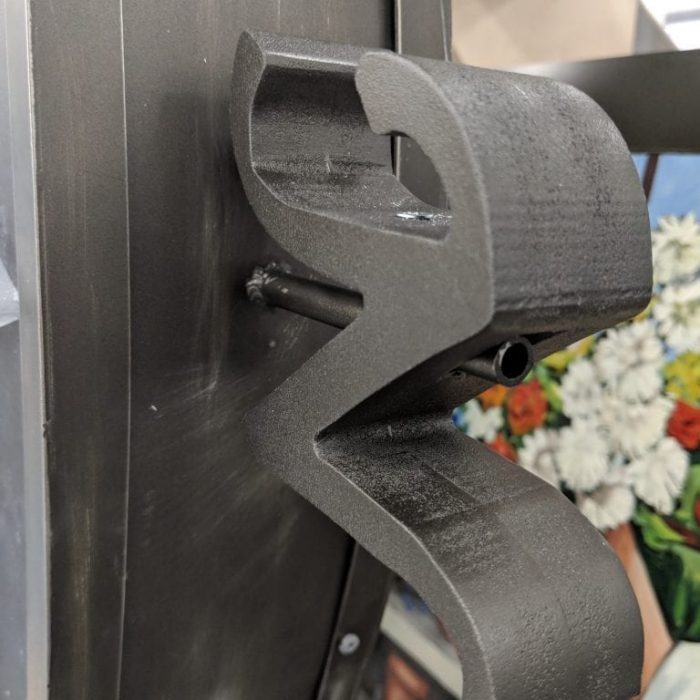
The circular steel frame for the compass design projecting design. Treated to look slightly tarnished.
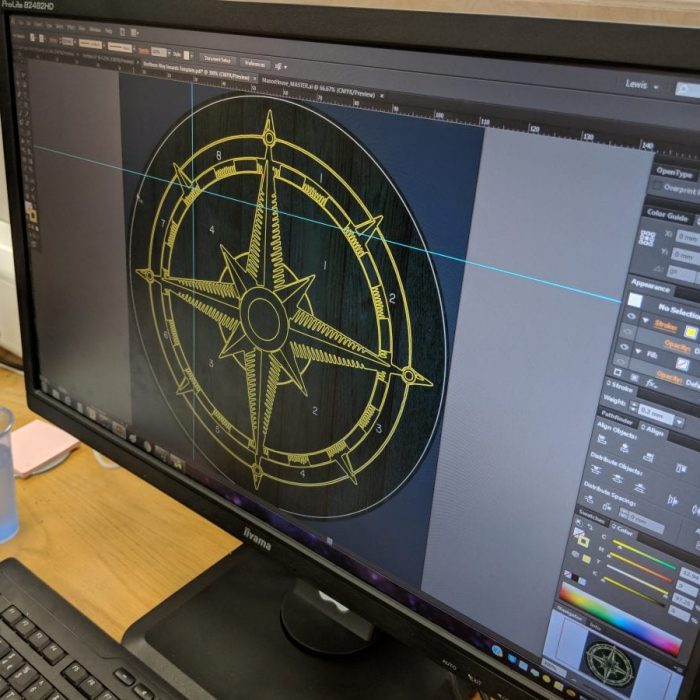
The compass design itself is intricate, so before UV printing can begin it is worked out in detail using Adobe Illustrator.
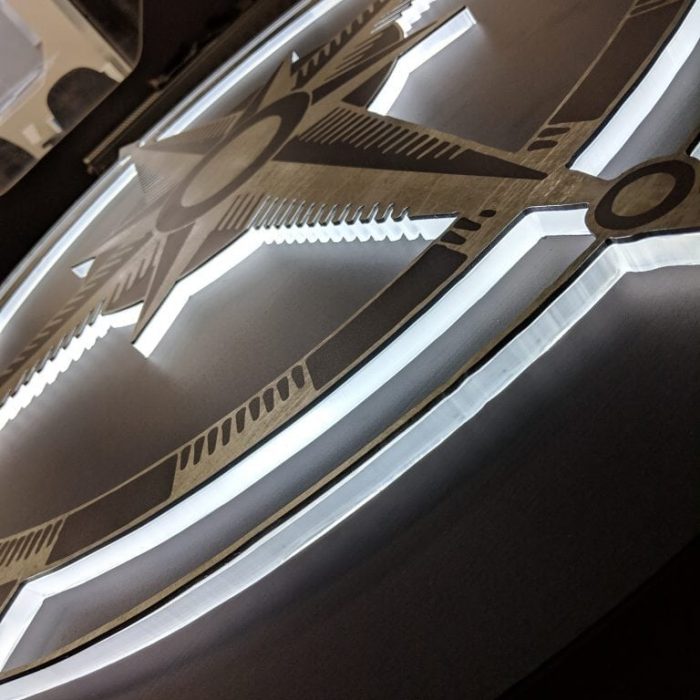
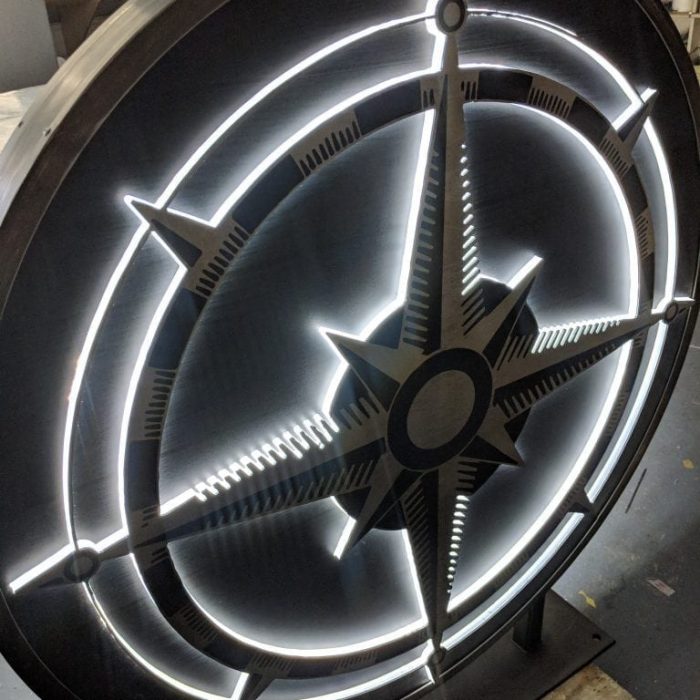
As the sign is put together the LED lighting is installed 'under the hood' - the overall effect is stunning.
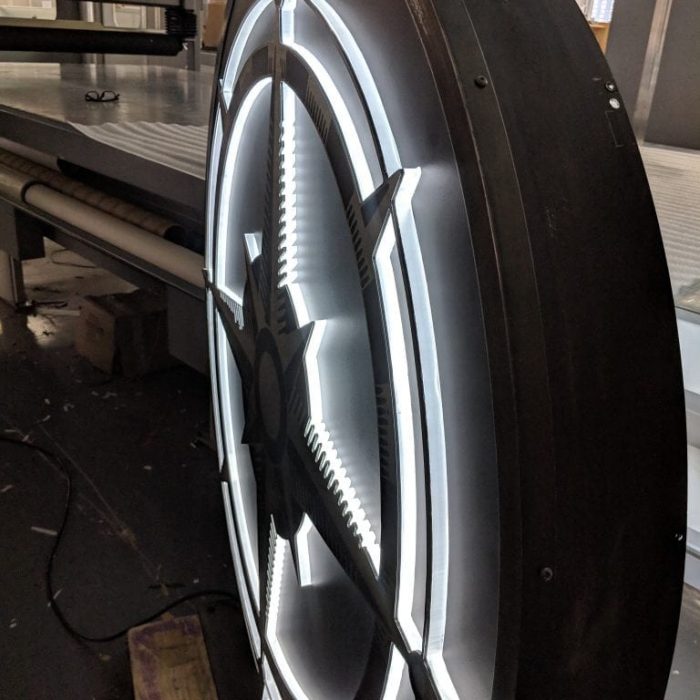
The finished sign mounted into the frame, ready for installation.
Thanks to the brightness of our LED lighting system, the projecting sign can be seen from almost any angle.
The cut letters for the four points of the compass are painted to match the rest of the signage.
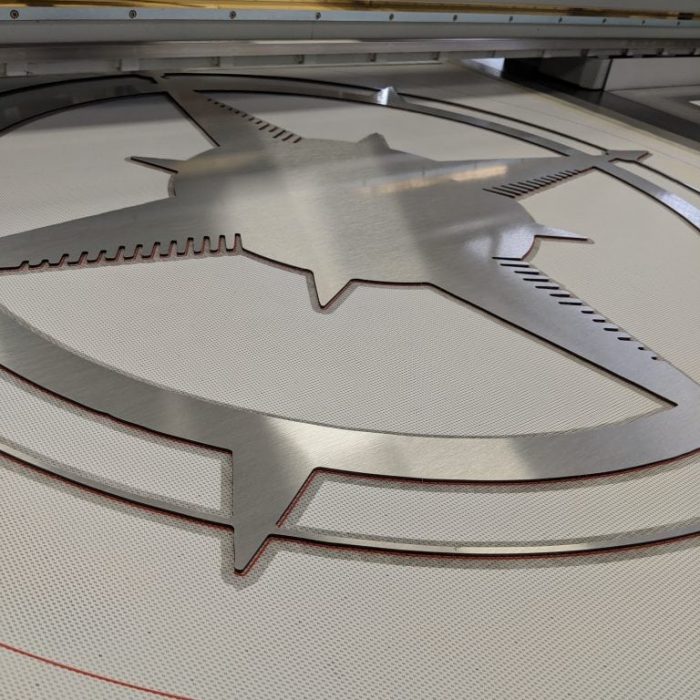
The shape of the compass is cut from Dibond and the UV printer set up for printing the intricate design.
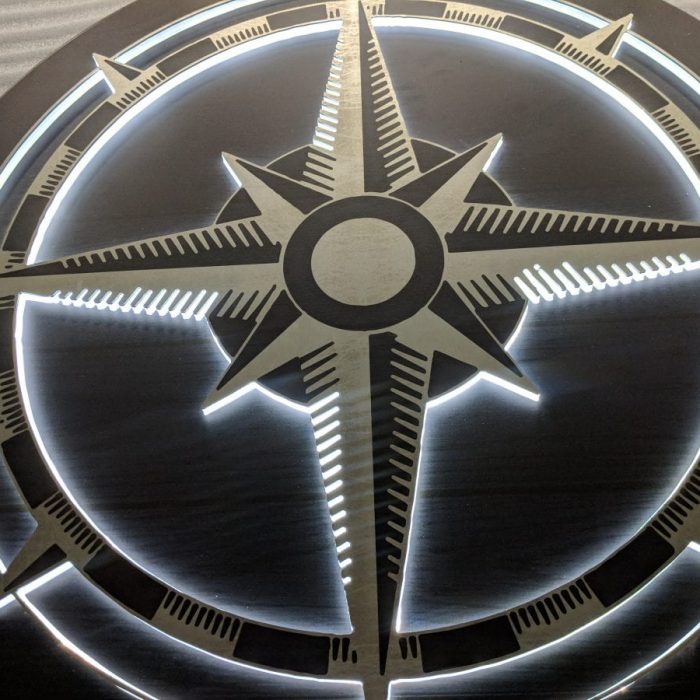
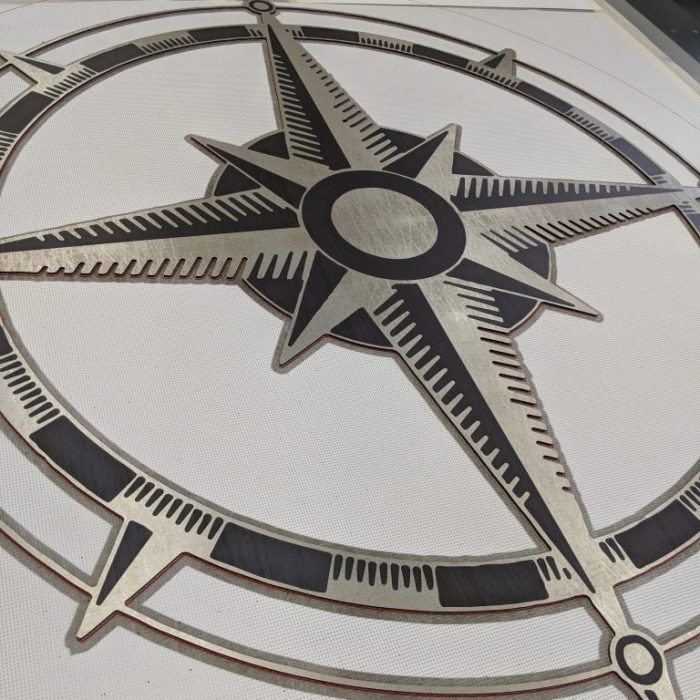
The printing goes smoothly, comprising black and a tarnished silver effect to give a 3D, weather worn effect.
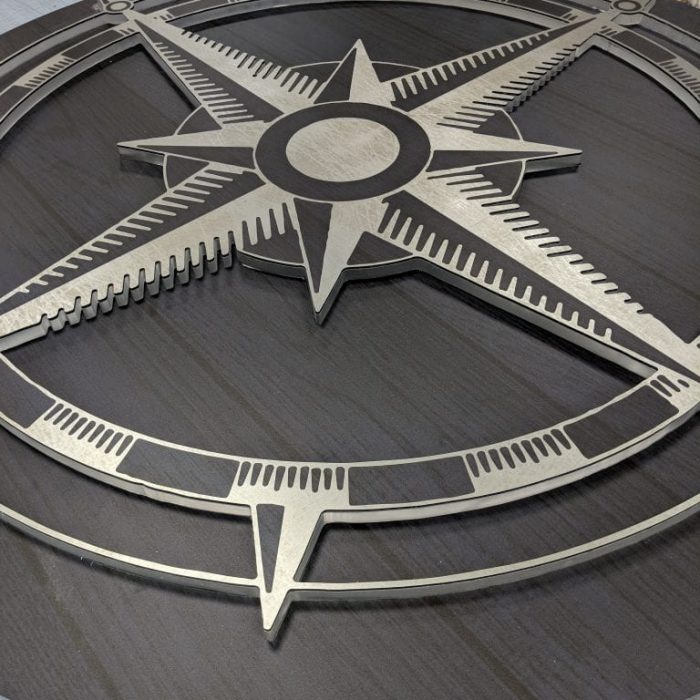
The pieces of the compass come together on the acrylic base. The cut and printed Dibond sits on top, whilst more individually cut Dibond is printed with the same blue wood effect used on the rest of the project.
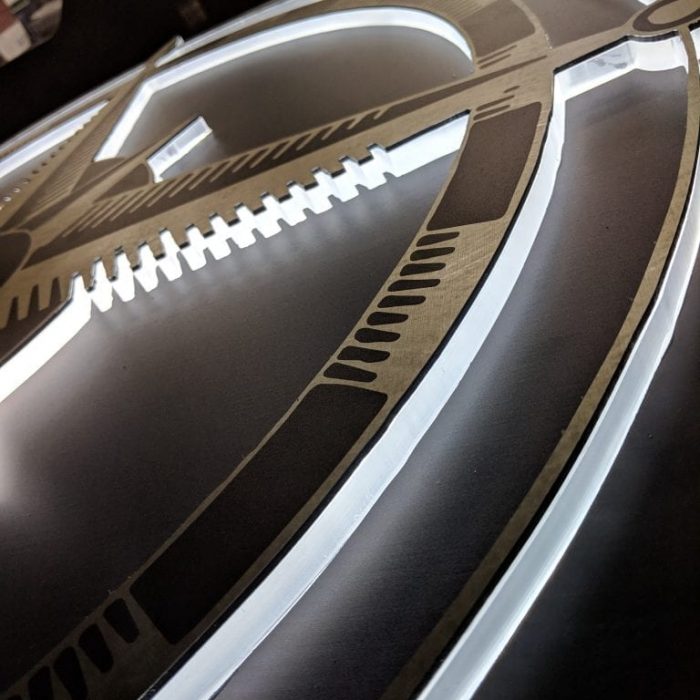
Here you can see the 3D effect achieved by using all these processes together.
The sign even bears up to close scrutiny, such is the care and attention put into each stage.
By continuing to use the site, you agree to the use of cookies. Learn More
The cookie settings on this website are set to "allow cookies" to give you the best browsing experience possible. If you continue to use this website without changing your cookie settings or you click "Accept" below then you are consenting to this.
